Create and update a deceased donor profile
Intended audience: clinical services coord - csc csc manager
This article is about deceased donors. See Create and update a living donor profile for information on living donors.
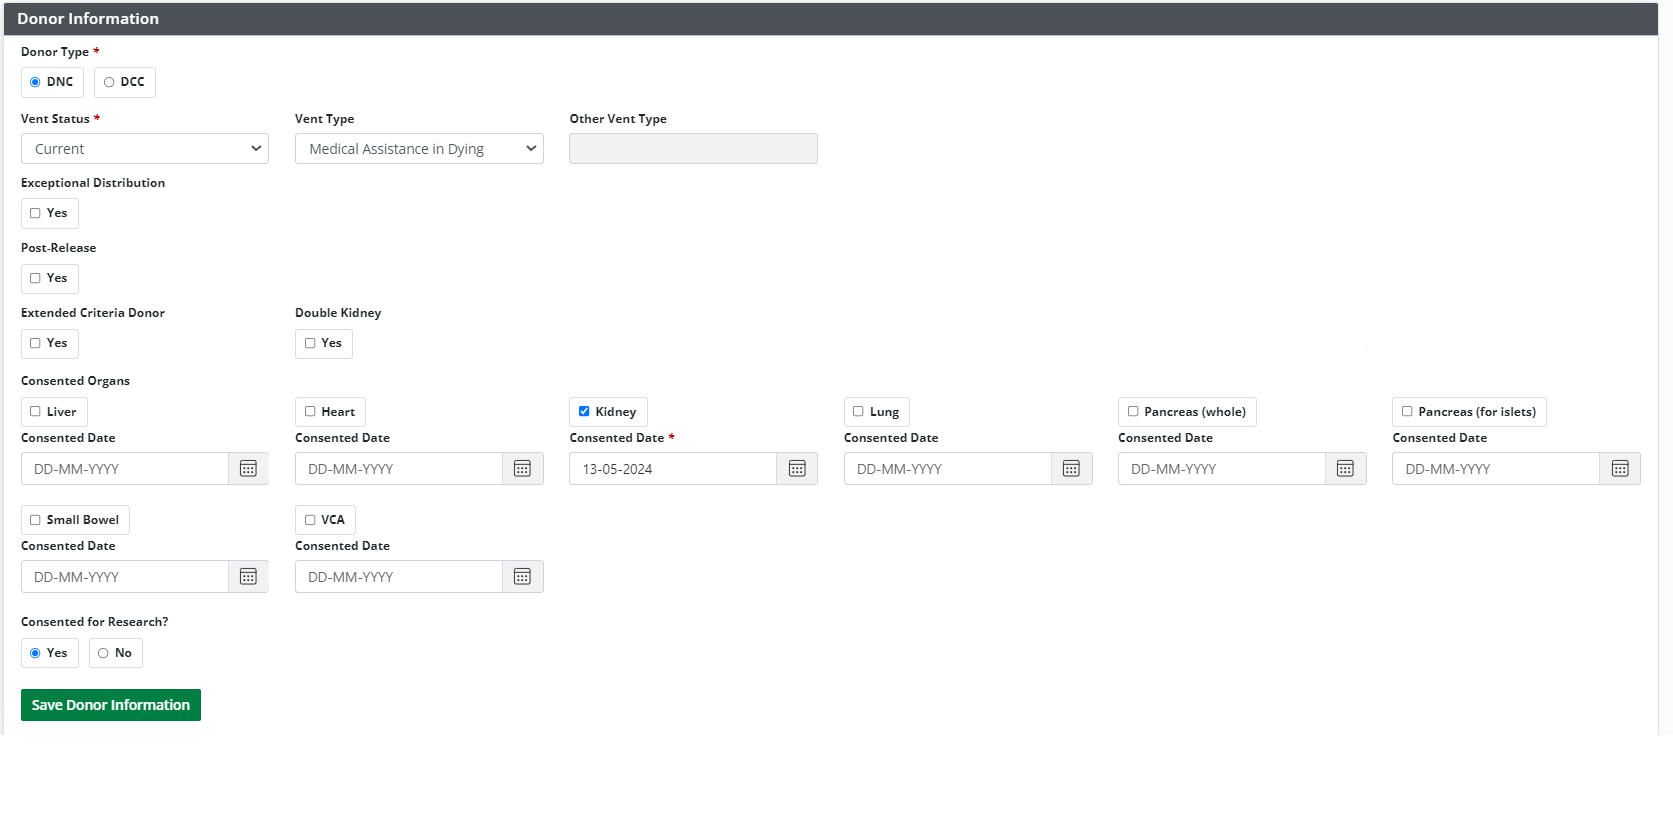
A donor profile contains information about a donor and their organs that are consented.
OATS uses this information to allocate and offer consented organs to the most appropriate recipients from the Ontario waiting list and, in some cases, to recipients on national waiting lists.
This article explains the standard approach for creating a donor profile (by pushing donor information from iTransplant to OATS). If iTransplant is unavailable, see Create and update a deceased donor profile – downtime process.
Creating a donor profile from iTransplant
iTransplant is TGLN’s book of record for Ontario donors and consented organs. A Clinical Services Coordinator (CSC) enters mandatory and non-mandatory donor information in iTransplant, then pushes it to OATS.
-
In iTransplant:
Enter donor information as it becomes available.
Select the Submit button.
-
iTransplant pushes donor information to the OATS profile.
-
Referral information.

-
Donor information.

-
Clinical information.

-

-
OATS receives the donor information and creates a donor profile, including a TGLN ID generated in iTransplant.
OATS registers the donor with the Canadian Transplant Registry (CTR) and obtains a National ID after donor HLA has been entered.
Updating a donor profile from iTransplant
You cannot change donor profile information directly on OATS. Any donor profile updates must be made in iTransplant and pushed to OATS over again.
-
In iTransplant:
Update donor information as it becomes available.
Select the Submit button.
OATS receives the donor information and overwrites the original profile.
If the updated donor profile represents a significant change over the previous version, you may need to
Viewing serology results in OATS
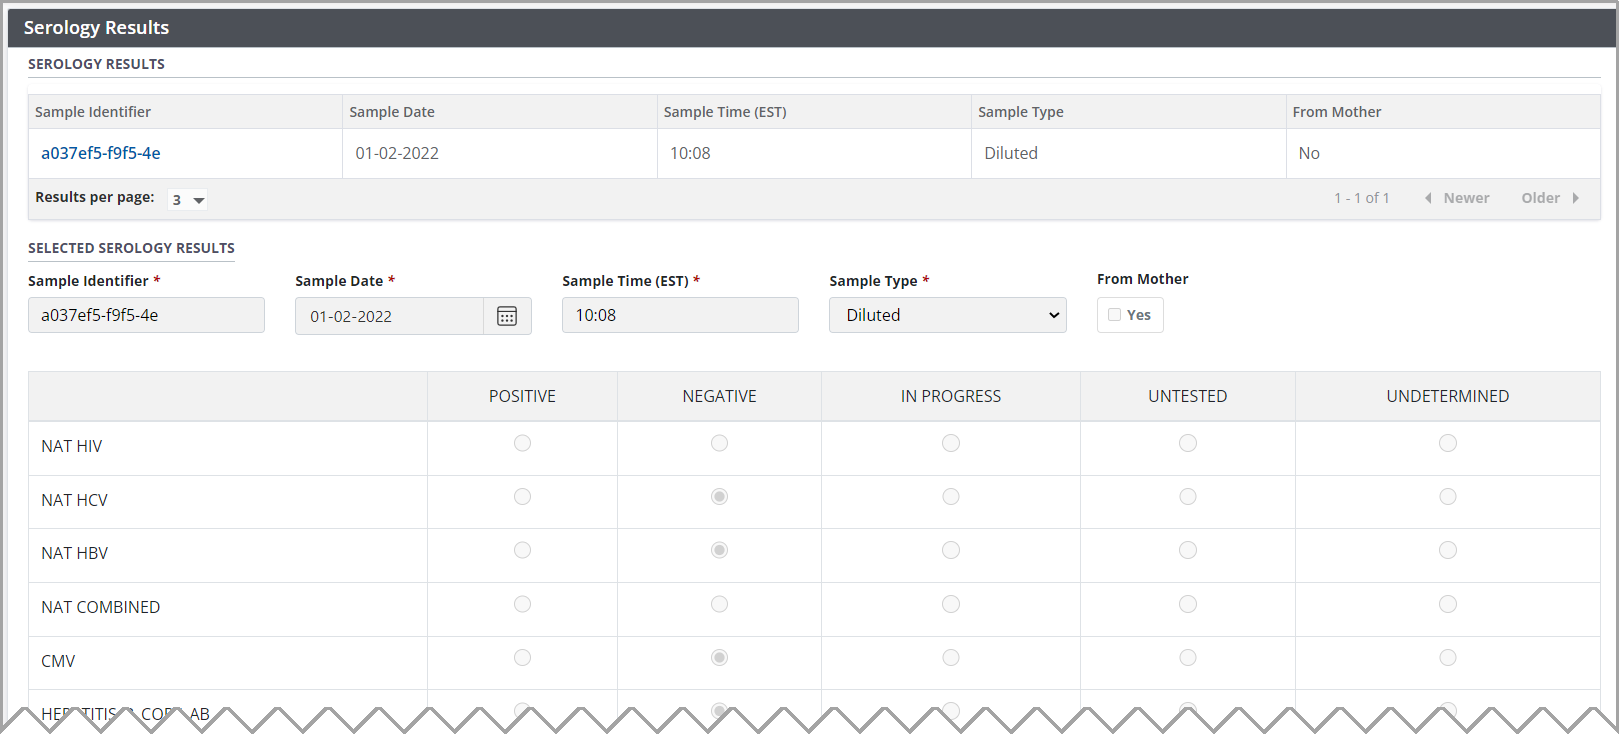
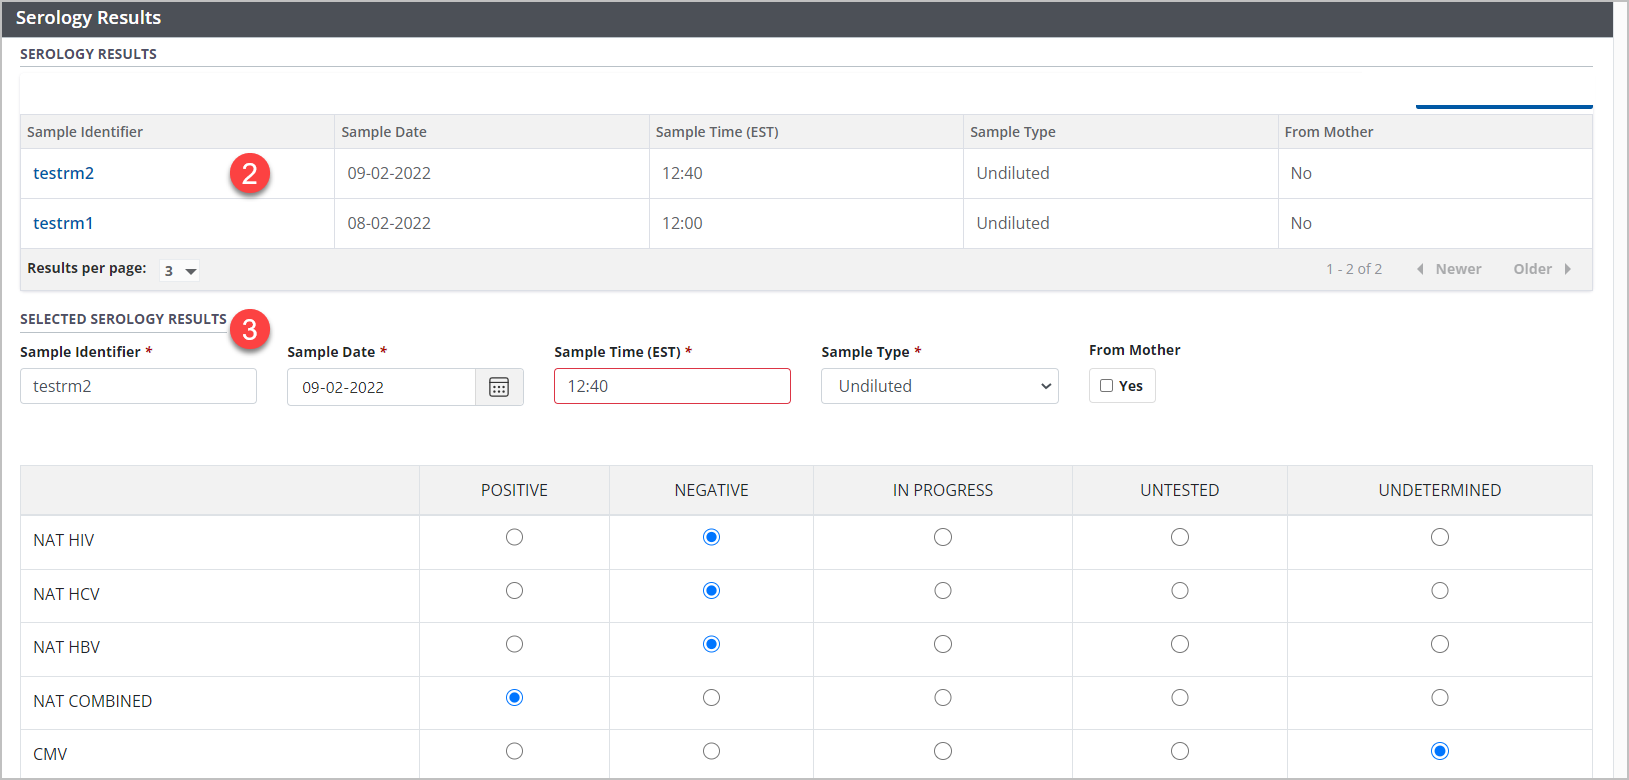
The system maintains a history of Serology Results. To view the current or historical results:
-
Go to the donor profile, then select Profile > Serology Results on the sidebar.

Select any entry from the historical serology results table
The details appear in the Selected Serology Results fields below.
