Complete a post-allocation checklist
Intended audience: clinical services coord - csc tgln management audit
The post-allocation checklist is a quality control step that occurs after the offer process is completed for a consented organ. This could mean that an offer has been made and accepted, or that an offer has been made and declined for all potential recipients.
Two Clinical Services Coordinators (CSCs) must complete the checklist, to confirm that the allocation and offer processes were completed properly.
Confirmations cannot be changed once the checklist is saved.
Initiating a post-allocation checklist
Prerequisite: An offer has been accepted (or no transplant programs have accepted the offer).
-
Go to the donor profile, then select Organ > Checklists on the sidebar.

Select the Create Post-Allocation Checklist button.
-
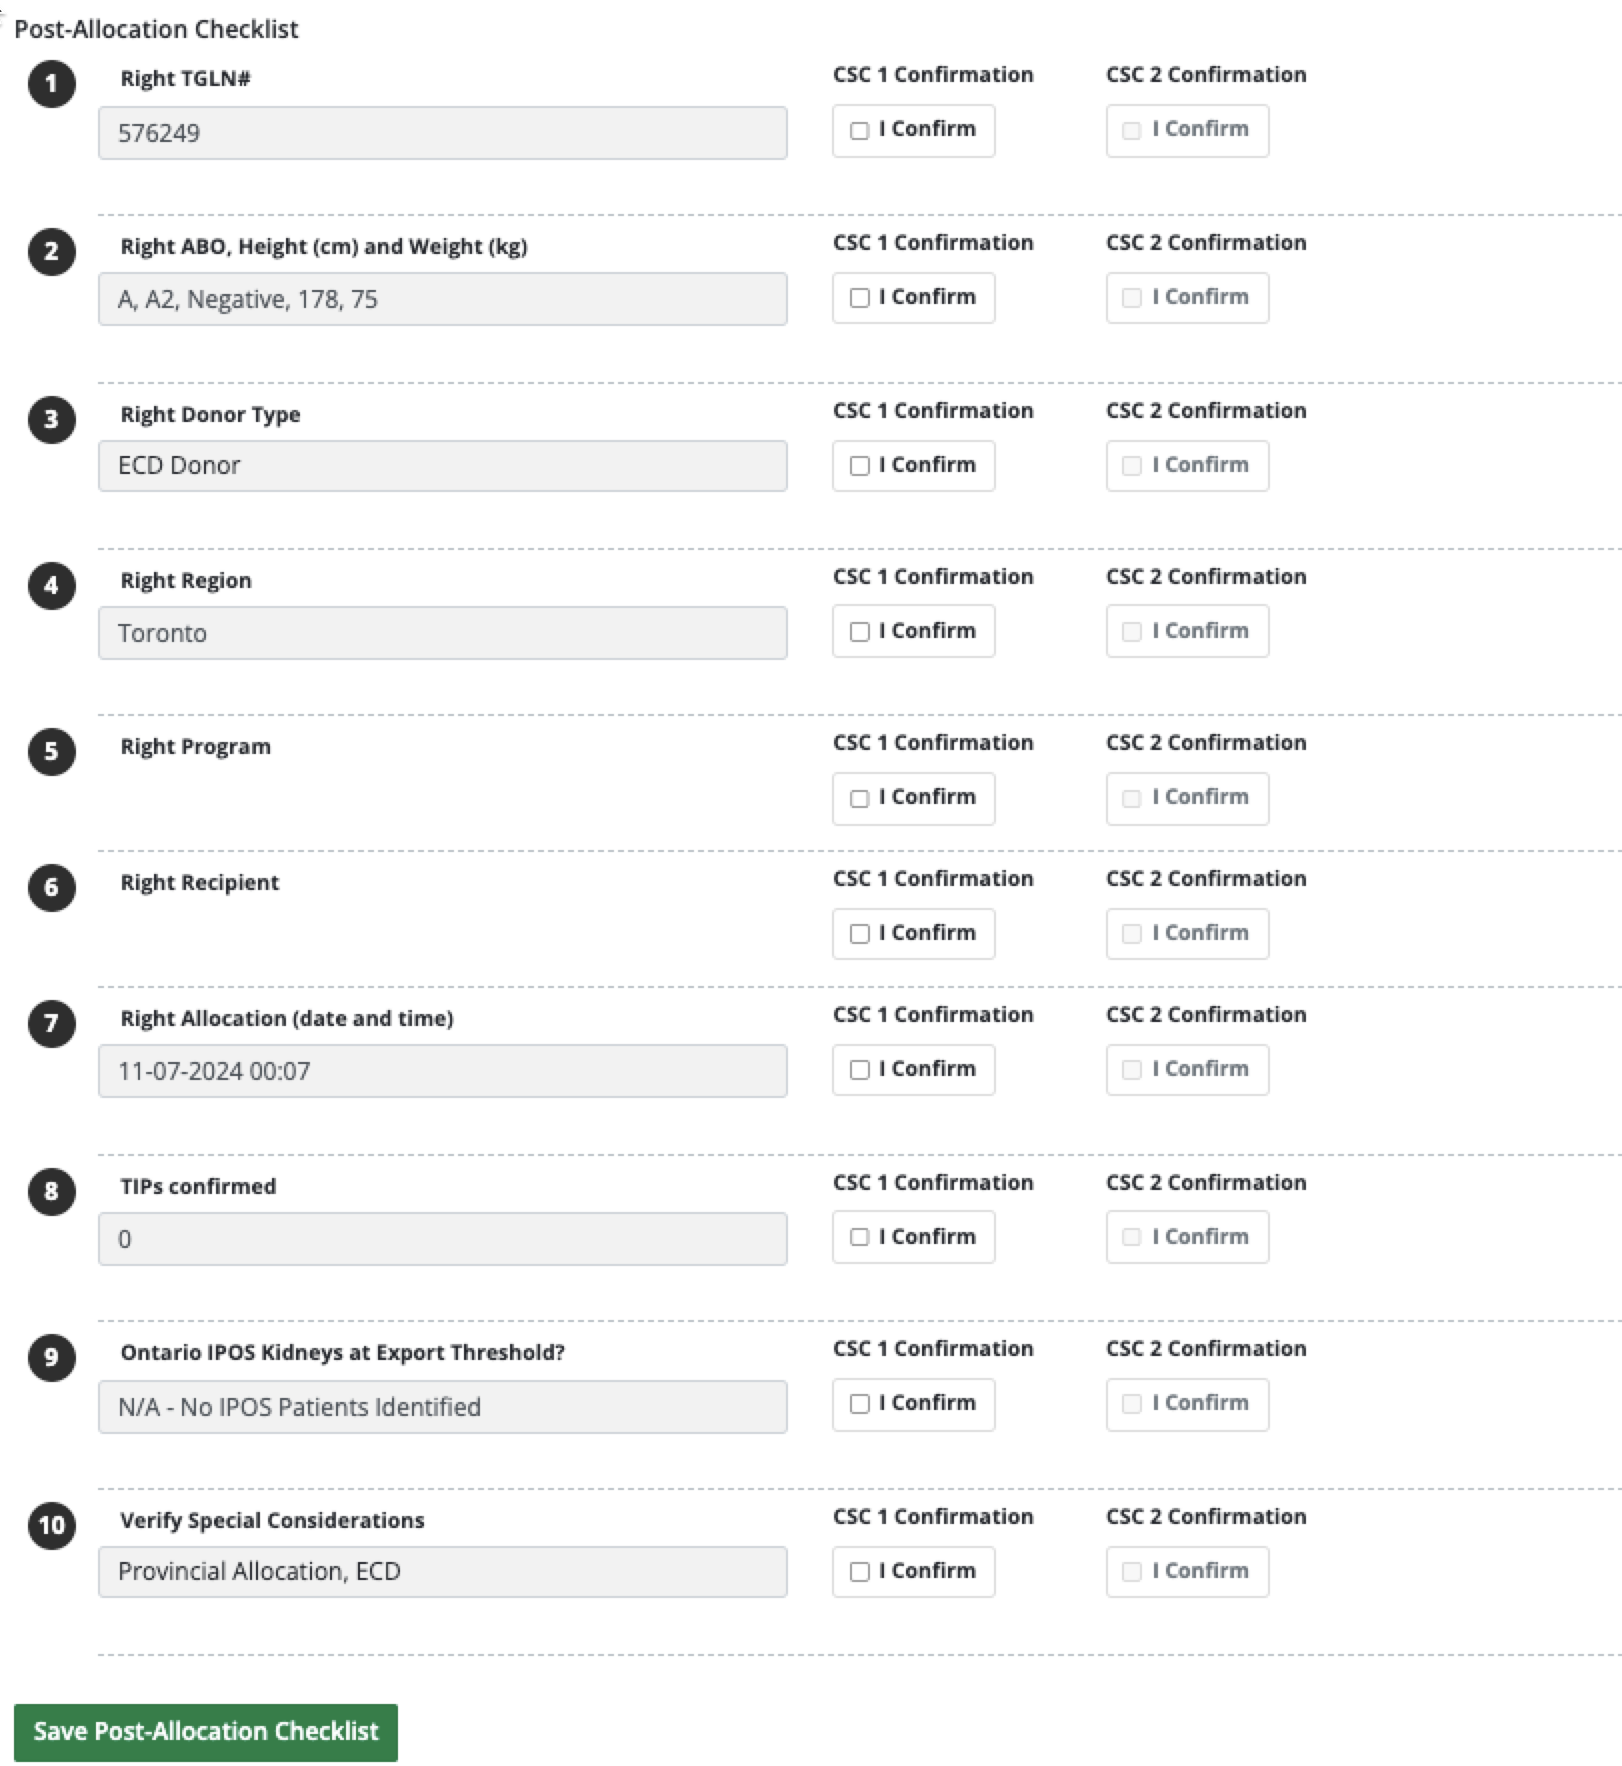
The system presents a blank checklist. Note the items on the checklist are different, depending on the organ being allocated. (For example, for a kidney being allocated provincially, Ontario IPOS Kidney at Export Threshold? appears.)

-
For each item on the checklist:
Validate the item by comparing the allocation recommendation to source data (on iTransplant and OATS).
Select the I Confirm checkbox under CSC 1 Confirmation.
Select the Save Post-Allocation Checklist button.
The system adds the new checklist to the table at the top of the section. The checklist can be verified by another CSC.
Verifying a post-allocation checklist
Prerequisite: A CSC has completed the post-allocation checklist and has requested verification. The system will not allow the first CSC to verify any checklist items.
A second CSC must review the information and verify that it is accurate.
-
Go to the donor profile, then select Organ > Checklists on the sidebar.

In the table of completed checklists, select the most recent pending post-allocation checklist.
-
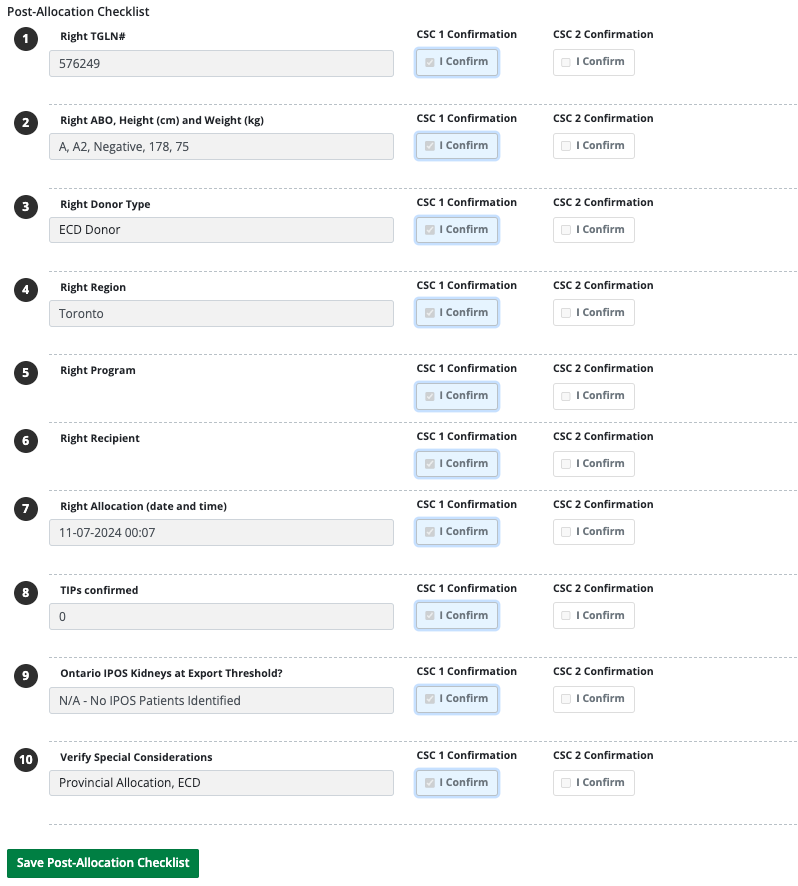
The system presents a checklist with CSC’s confirmations showing. Note the items on the checklist are different, depending on the organ being allocated.

-
For each item on the checklist:
Validate the item by comparing the allocation recommendation to source data (on iTransplant and OATS).
Select the I Confirm checkbox under CSC 2 Confirmation.
Select the Save Post-Allocation Checklist button.
The system saves the checklist and updates the table at the top of the section.
The organ can now be recovered and delivered to the recipient’s transplant centre.
Viewing checklist history
To see the status of checklists for a given allocation:
-
Go to the donor profile, then select Organ > Checklists on the sidebar.

Select Checklist History at the top of the table.
-
The system presents a pop-up window.

To close the window, select Close, select the small red x, or press Escape.
Viewing a post-allocation checklist
Checklists can be viewed by TGLN management and auditors to confirm that the allocation and offer process was conducted properly. CSCs and CSC managers cannot open and view completed checklists.
-
Go to the donor profile, then select Organ > Checklists on the sidebar.

In the table of completed checklist, select the post-allocation checklist.
-
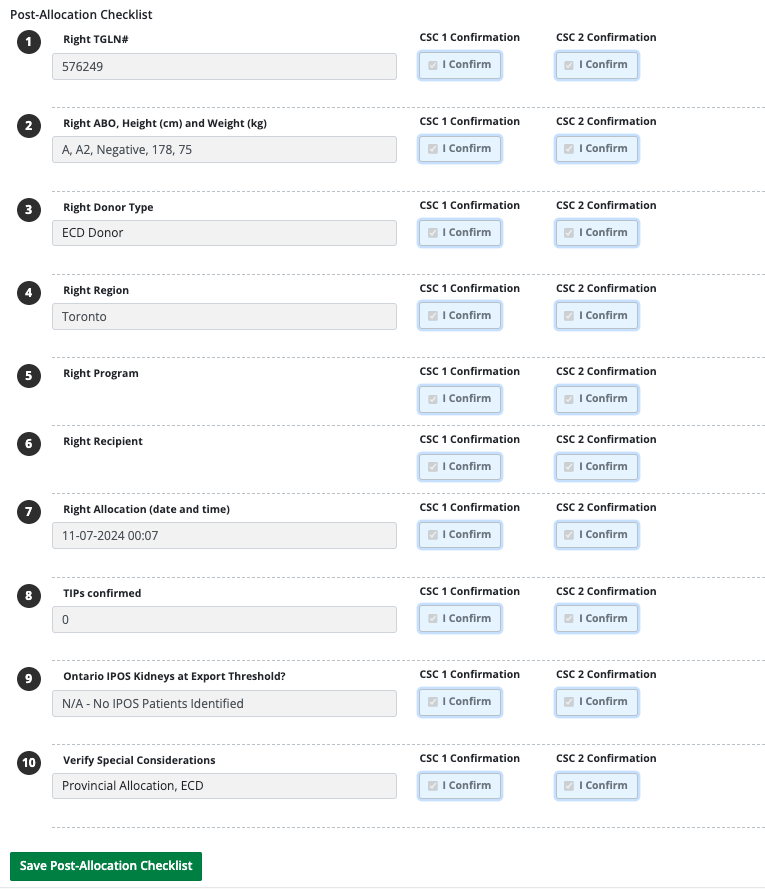
The system presents the selected checklist, showing all CSC confirmations that have been made. Note the items on the checklist are different, depending on the organ being allocated.

